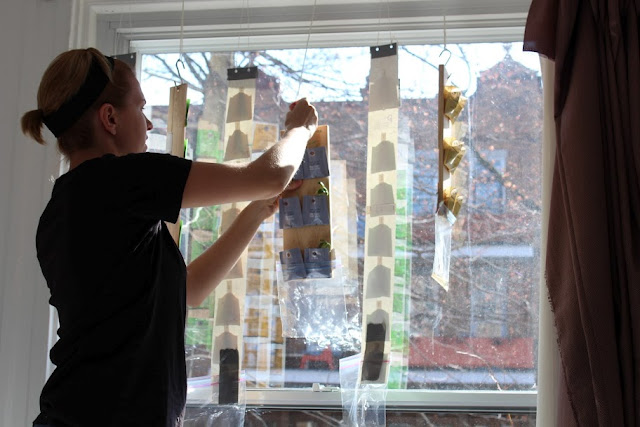
I saved wrappers about six months before starting this project. I just flattened them and tucked them neatly into a coffee mug in my cabinet. Did this drive my husband crazy? Not too bad. Especially when he saw how I transformed them this past spring!
For this project I used:
tea bag wrappers
left over poster board from an earlier project
a marker
scissors
stapler
tape
ziplock bags
potting soil
various seeds
I had an extra set of hands for this project, thanks to our little four year old cousin CC! What a great help! And special thanks to her momma, Mary, for taking pictures of this adventure.
: : Let's begin! : :
First I cut long strips of poster board about four inches wide. I then cut little strips about one inch wide by two inches long to use for attaching the teabags to the long strips. I used a stapler to do this and I spaced them roughly two inches apart.
We labeled the tops of our poster board strips according to what we wanted to plant. Then, with the help of CC, we carefully spooned potting soil into the tea bags until they were about 3/4 full.
Next we planted the seeds!
At the bottom of each poster board strip I taped an open ziplock. I inserted the last tea bag wrapper into the ziplock about half way. Then I made a little cut in the bottom of each of the wrappers, directly in the middle. This way, instead of having to water all of them individually I can just pour water in the top and let it drip down wrapper by wrapper. Anything extra will be caught by the ziplock and I can simply recycle it back to the top next time I water.
 |
| See the drip? |


