
*Please forgive my crappy photos! I used my iphone to document this. I'll learn how to use my husband's good camera soon, I promise.
I used a thrifted sweater for this project - something with a lot of stretch but still thick enough to hide underwear lines. Because you know how annoying those can be.

I was planning on turning this sweater into a hat and mittens for my daughter in the event this little idea didn't work out. So, with that in mind, I cut down the shoulders and pulled it on like a skirt to see if it would fit. Voila!

Next I chopped off the sleeves.

I cut the back of the sweater straight across the top, then cut down both sides and straight across the top of the front. One piece will obviously be longer than the other, but that's what I was going for.

Then I removed the seam on both arms and opened them up.

I folded each arm in half and cut them. These were sewn together to create the belly area of the skirt.

The idea was to sew the above pieces together along one side (left or right) to create a nice stretchy belly panel. I cut along the ribbing of the sides I'd be sewing together. I tried to remove as little as possible!

Next I joined the pieces together using a 1/2 inch seam allowance so that instead of noticing the seam you'd see a continuation of the knit pattern. Does that make sense?

Once they were sewn together, I joined them to the tops of the front and back panels of the sweater using a zigzag stitch (I tried to match up the ribbing patterns). This is important! As you are growing, you'll want the sweater to stretch. For those of you who are amateurs like me, the zigzag stitch will allow the seam to stretch, whereas a straight seem will not.


Now, the fun part! I lined up both panels as best as I could, careful to match the belly seams, and pinned the right sides together as close to the outside as possible. You don't want the skirt to be too tight. You can always take it in.

Here's a picture of the skirt on, wrong side out. I pulled and pinned where needed.

Once the side seems were sewn, it was time to tackle the waistline. I put the skirt back on, this time right side out, and played with the top portion. Where did I want the hem? How high did I want the belly band to go? Once you figure out what works best for you, simply pin and sew with a zigzag stitch.


Trim excess.

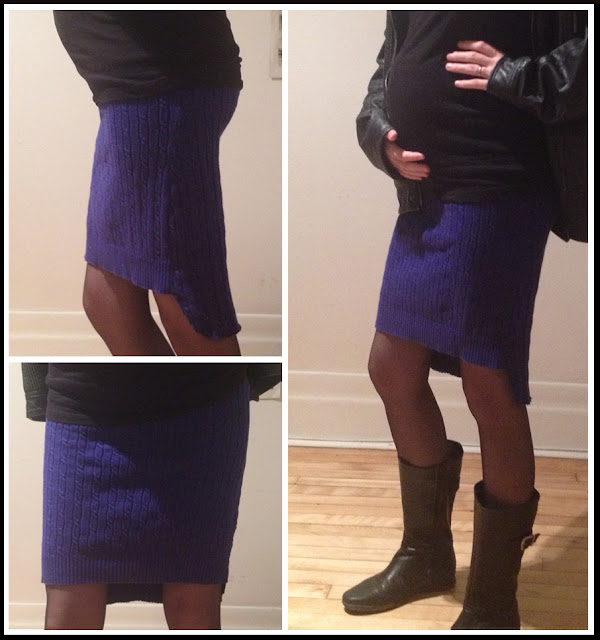
Now for the 'tail'. I saw this particular design walking the streets of Montreal the other day and that's what fueled the desire to attempt this upcycle in the first place! You could leave it square, or hem the bottom all the way around for something more traditional. I rounded the back corners and finished with a slight zigzag stitch along the bottom.

Let me tell you. I could live in this skirt. Talk about comfort!


What a happy little experiment!

Now tell me, what are you working on? I'd love to see
your transformations! ohboyanotherupcycle@gmail.com